WELCOME TO SAFETY ON THE SLOPES: A 3-PART GUEST SERIES FROM RAISING LITTLE RIPPERS
Raising Little Rippers is a blog and set of online educational resources created by 22-yr ski instructor and mom, Janelle Thomas. We partnered with her to bring you some of her sage advice to help kids stay safe on the hill.
PART 3: MASTERING TERRAIN PARK ETIQUETTE
Riding through the Terrain Park can be an exciting experience for any skier or snowboarder, young or old. Utilizing the terrain park is also a great way to challenge ourselves to try new things and inspire our lil’ rippers to progress through new skills.
However, Terrain Parks come with their own set of rules and etiquette that need to be both learned and taught. Following this etiquette keeps everyone in the Terrain Park safe and happy. This article will empower you to role model and teach this etiquette to your own lil’ rippers.

LET'S START AT THE BEGINNING...
Be sure to enter a Terrain Park through the marked entrance ONLY! Cutting rope to enter from anywhere else is not only dangerous but it can interrupt another rider's flow through the park… and that’s just NOT cool. Entrances are designed and marked for good reason and everyone will respect you more if you use them.
Take notice of entrance signs. These signs will educate you about the terrain you are about to enter. The park will be labeled by the size of its features starting with extra small features in the beginner park and working through medium and large features as up up to extra large features in the competition park. It is incredibly important that you are skiing or snowboarding terrain at your ability, perfecting your skills before you step up to the next level.
BE PARK S.M.A.R.T.
This acronym was created to help you easily remember how to stay safe in the park.
1. Start small. Start in the beginner park and build your skills before moving to bigger features. When it comes to progression, there is no benefit to going too big too early. In fact, it tends to be detrimental as it can lead to bad habits.

2. Make a plan.
Make it a habit to pre-ride the features and re-ride the features, before you free-ride the features.Take note of how current weather and snow conditions are affecting the riding. Look for changes the park crew might have made in features and flow since the last time you were there.
3. Always look. Pay attention and know the landing is clear before dropping in. A spotter can be used to get a better view. Spotters will use hand signals to tell you when the jump is clear. Arms held overhead like an “O” is the sign for jump open and like an “X” is the signal for jump closed.
4. Respect other users. Everyone prefers only one rider on a feature at a time. Honor the queue, take your turn and call your drop. Be sure to spread drops out, no need to "stack" the landing. A general rule of thumb is to wait until the rider in front of you has cleared the NEXT feature before dropping in.
5. Take it easy. Know your limits and land on your feet. Don't go for that extra big jump or feature if you're not feeling it. Remember that fatigue will affect your performance as the day goes on. Commit to features you plan to hit and ride around those you don't.
OTHER THINGS TO KEEP IN MIND
Know where to land. The sweet spot is between the knuckle and the center of the landing zone. Aim for this sweet spot to avoid crashes and injury… not to mention this is where the thrill is at!
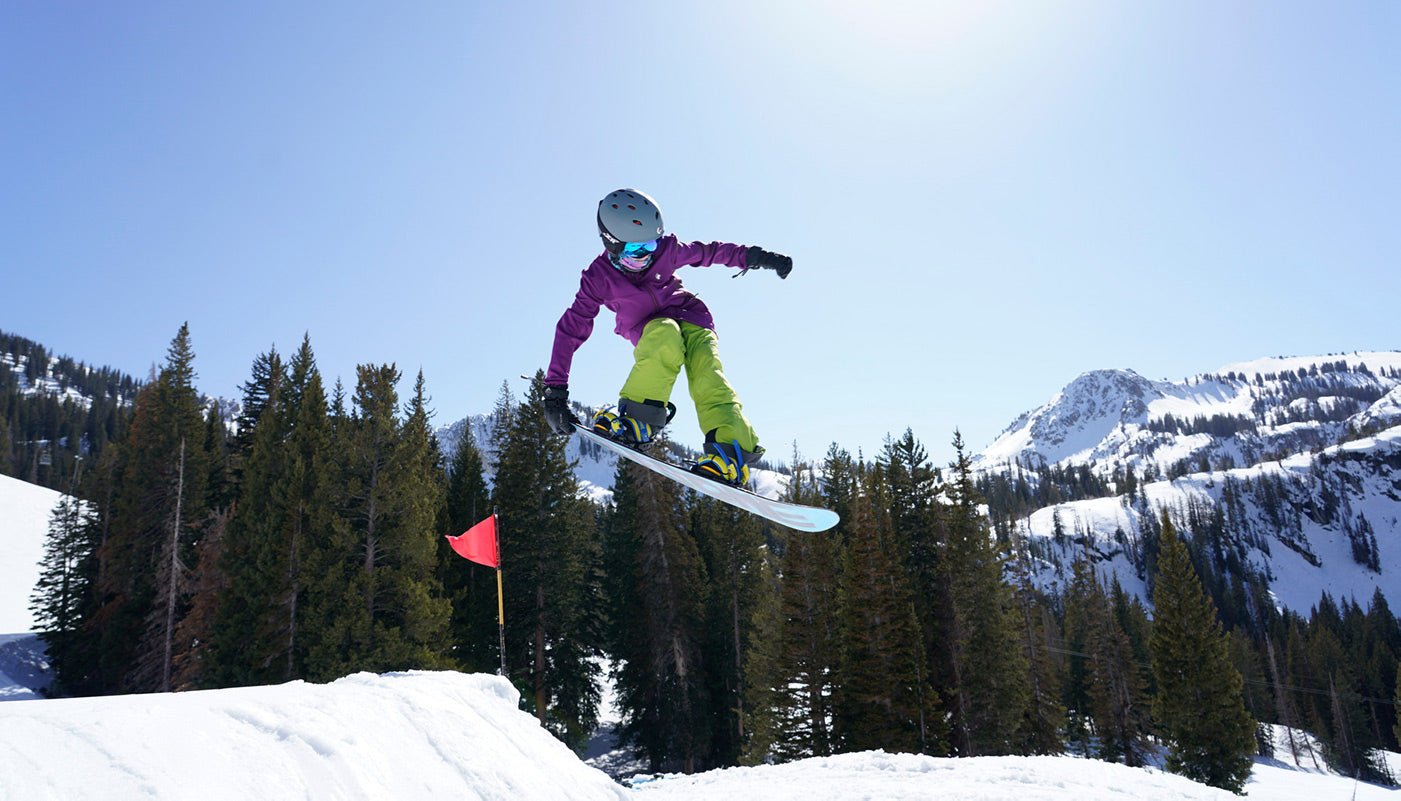
Check out Team SHRED DOG rider, 5 year old Leland Vogt, clearing the knuckle!
Know where to stop. Avoid the open spaces between features and NEVER stop in landing areas! Standing in between features and stopping on the landing of jumps are the biggest mistakes we see made in the terrain park. Remember that riders uphill can not see you and are not expecting you to be there. Staging areas exist as a place for riders to gather and wait their turn to hit the next feature. If you're not sure where the staging areas are be sure to observe and ask.
Know the bypass lane(s). If you are riding through the park but not riding the park features, ride the lanes adjacent to the park or stick to the decks next to the features for filming. It is not safe to just randomly ride through the middle of the park, in between features or across the bottom of landing zones. Generally there is a safe route of passage, known as a bypass lane on at least one side of the trail.
Know "how" to crash. If you crash on a feature it is important to always get up and out of the landing zone as quickly as possible. If you find yourself or someone else busting out a complete yard sale, be sure to get out of the way and signal to others that the jump is closed BEFORE hanging out in the landing zone to gather all your equipment.
Know what to do if someone gets hurt. In the event of an injury the absolute first thing you need to do is close the feature BEFORE attending to the injured party. You will be no good to anyone if you get clobbered by the next rider hitting that feature.
There are three ways to close a feature:
- Have another rider stand in front of the features take off.
- Turn a snowboard upside down or make an X with a pair of skis in front of the take off.
- Use hand signals to communicate with other riders up the hill that the landing is not clear.
After you have closed the jump, contact ski patrol and keep the injured party calm and still. Do NOT remove any equipment.
"Don't be a snake!" By definition this is the rider who rolls into the staging area and never stops, rolling right past everyone else waiting in line so they can hit the feature next. If the park features are designed well, there should be no need to take a rolling start. So don’t be that guy/gal! Wait your turn in the queue.
Take care with lane changes. Changing lanes happens often when the flow of a park allows for it. The challenge being that someone might already be riding down the lane you want to cross into. ALWAY LOOK UPHILL before changing lanes.
Always call your drop! This is how riders respectfully take their turn in the queue. To call your drop, look around you to make sure no one else is doing the same, raise your hand and call out “dropping”. This alerts everyone in the staging area that you are taking the next spot in line. This simple action helps everyone avoid false starts and frustration.
ONE LAST THING...
I’ll be the first to admit, this one took me a little while to learn and understand. Even though they look like small jumps, the takeoffs in front of Rails and Boxes should not be used as jumps.

The reasons for this are important:
- These takeoff ramps are not designed to be kickers. Using these takeoff ramps as a jump can easily send the skier or snowboarder falling into the Rail/Box or off into the bypass lane where there's potential for a collision.
- Using these takeoffs in this way breaks them down and creates ruts that make it much more difficult for riders to use them properly when hitting the feature.
WANT TO LEARN MORE ABOUT SAFETY ON THE SLOPES OR SHRED DOG GEAR?
Check out Part 1 and Part 2 of this series or visit Raising Little Rippers to read Coach Nelly's review of our gear.
ABOUT THE AUTHOR

Janelle Thomas (Coach Nelly) is the owner of Raising Little Rippers and mother of three. With a degree in Behavioral Psychology and a specialty in child development, Janelle graduated from the University of Portland with honors and a desire to pursue adventure therapy. She went on to spend the next 22 years perfecting the art of teaching children to ski while simultaneously homeschooling and raising her own three lil’ rippers. From Instructor to Trainer to Program Director she brings decades of experience to her current coaching project: To empower adventurous mamas raising the next generation of big mountain skiers. Find her on Instagram @raisinglittlerippers.
